
Holy wow….it has been MONTHS since I last wrote. I can’t believe I let myself go this long because I’ve missed writing tremendously. However, with quarantine being all I’ve known for the past couple months, I haven’t really been out doing things that I normally do, giving me absolutely nothing to write about. That is, until the boredom got the better of me and the deals on SHEIN stole all of my attention! I maybe kinda sorta went all out and gave myself quite the update for my spring wardrobe, all for under $150! To top that off, the free shipping I received only took 7 days to get delivered!
Below I have brief descriptions on each style, and am going to show some at home photo shoot pictures with honest reviews and links to each product! If you have any further questions about fit/style/quality, feel free to leave a comment below!
Accessories
Aztec Inspired Fringe Earrings
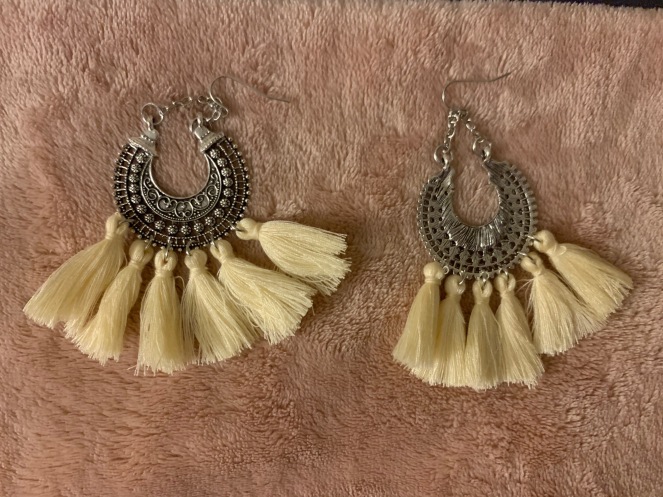
I have been on the hunt for a pair of cute silver fringe earrings for as long as fringe earrings have been on the trend scene. This adorable pair is finally the answer I’ve been looking for! They are a dangle style pull through, with a silver medallion and white fringe. They aren’t as heavy as they look, super comfortable, only con was they did not come with any backing. I have spare plastic backings so it was no issue for me to figure out, but thought it was worthy enough a note to share! 9/10
Colorful Acrylic Earrings


These bad boys almost look like a defense weapon than earrings, but they are so so fun. They have the feel of a hoop, but definitely give a different overall look. Very light weight, and have a moving post that clicks into place for the piercing itself. 10/10 love these guys.
Strappy Mules
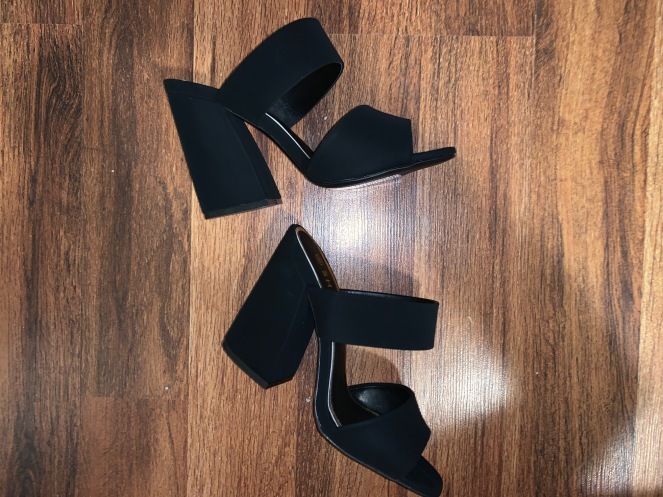
I’ve been looking for a new pair of heeled mules for a while now, but sometimes shoe shopping with strappy styles is difficult to do online, without trying them on for the true fit. I looked at the reviews of this shoe, and everyone called out they are true to size and surprisingly comfortable, so I pulled the trigger and hoped for the best on these ones! Thankfully, they fit great, the straps are just stiff enough to keep the foot in place, and the chunky heel make them extremely easy to walk in. I feel slightly awkward in heels due to not wearing any in so long, but these are definitely going to be my new going out shoes once the world is back in order! 8/10
Dresses
Black Embroidered Skater Dress
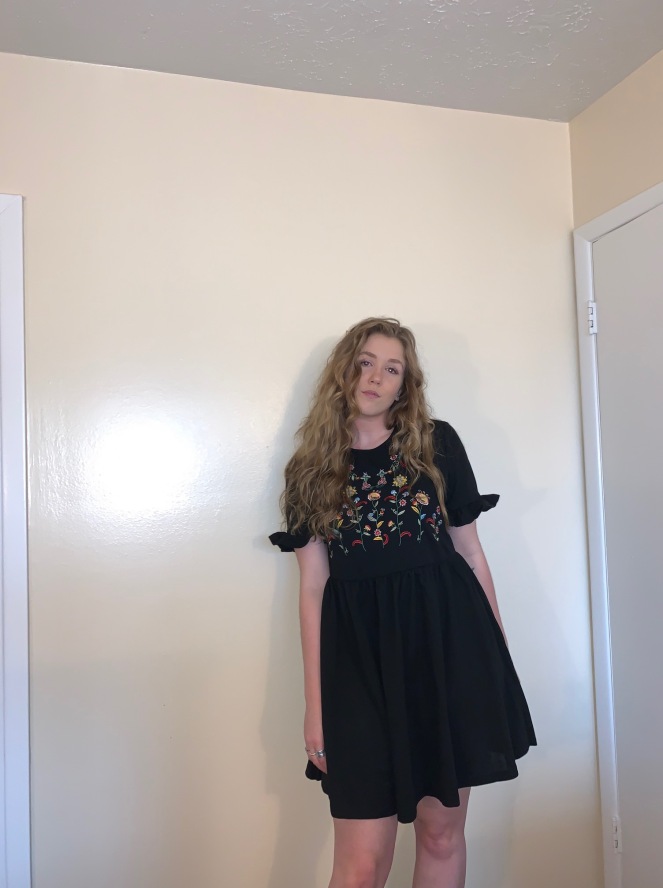
This dress just looked so cutesy online that I had to get it. I was very pleasantly surprised to open this one up and feel the thick quality of the fabric, and see that the design on the bodice of the dress is truly embroidered in, not just printed on. It fits great, super comfortable, and exactly like what I saw online! 10/10
Red Ruffle Dress
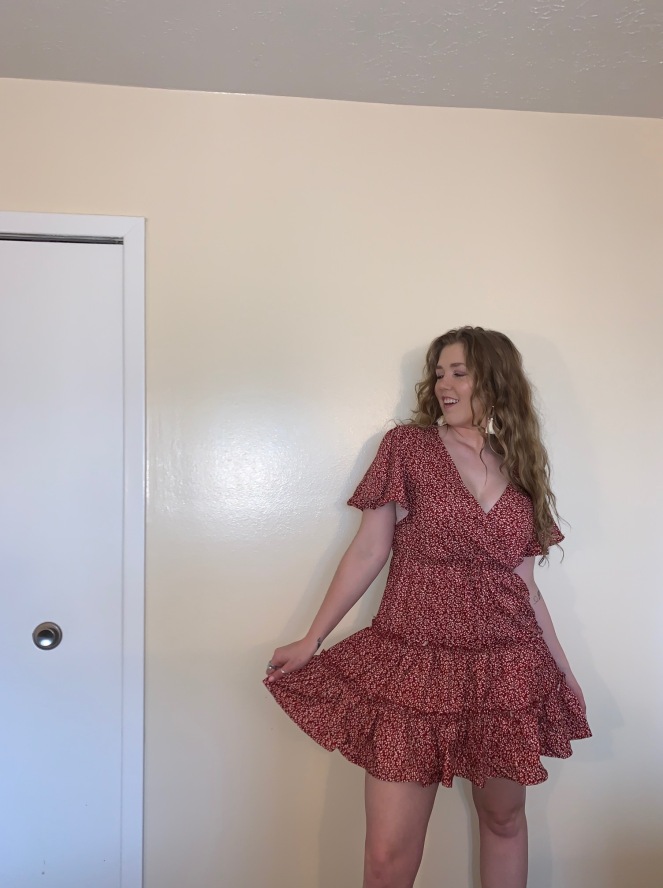
This little number is so fun and flirty, I’m happy I went with the red instead of the dark navy or black. I don’t usually lean towards too much color, but the style of this one in this red was just too perfect to pass up. I was surprised on the material of this one, it feels like an athletic cool to the touch woven material, when I was expecting a soft knit. And the tie under the bust is faux, it doesn’t actually cinch anything in, but besides these couple of things I love the way this one looks! Really comfortable, and a good length for me. Comes in a whole variety of colors too! 8/10
Smocked Chambray Stripe Dress


I feel like a 50s housewife in this, and yes I know this is not what 50s housewives wore, but for some reason that’s the only way I can explain how I felt putting this one on! The stretchy smocked bodice is so comfortable, and the flutter sleeves add a girly touch to the stiff looking top. The skirt is midi length, and hits me about half calf, so I’m happy on the length here. There’s a slight square neckline at the top, which is super trendy right now. All in all, pretty content with this one, but it does need some stylistic touches like adding a belt, or maybe finding a good necklace to dress it up. 7/10
Slit Midi Dress


I LOVE THIS DRESS SO MUCH. Now this one I think I can get away with relating it to the 40s or 50s, but as a s u l t r y housewife instead. This kind of neckline with puffy sleeves is all the rage right now, and I have completely fallen victim to it myself. I cannot wait to wear this one on a hot date night, because it is so FUN. It has a center back zip, and is a thinner woven material. However with being a black print I have no concern about this one being see-through. 10/10
Tops
Lemon Body Suit
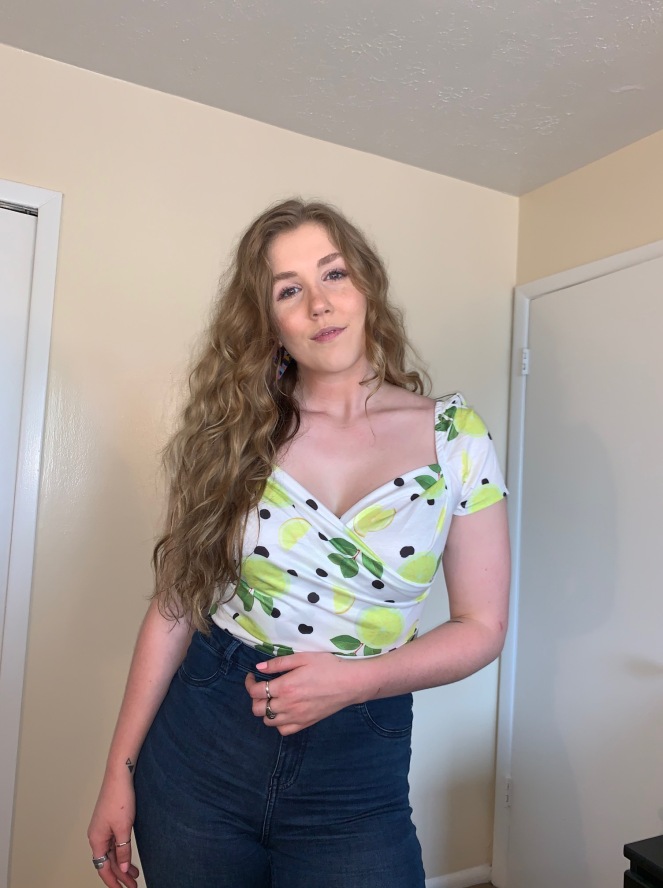
This body suit is surprisingly comfortable, the bodice is double layered so the white knit fabric isn’t see-through to the skin, and the neckline is so so so fun to me. Gives me the same vibes as the black and white dress, but the dressed down version. This will be a great go to for summer cook out plans and adventures! 9/10
Lace Sleeve Blouse
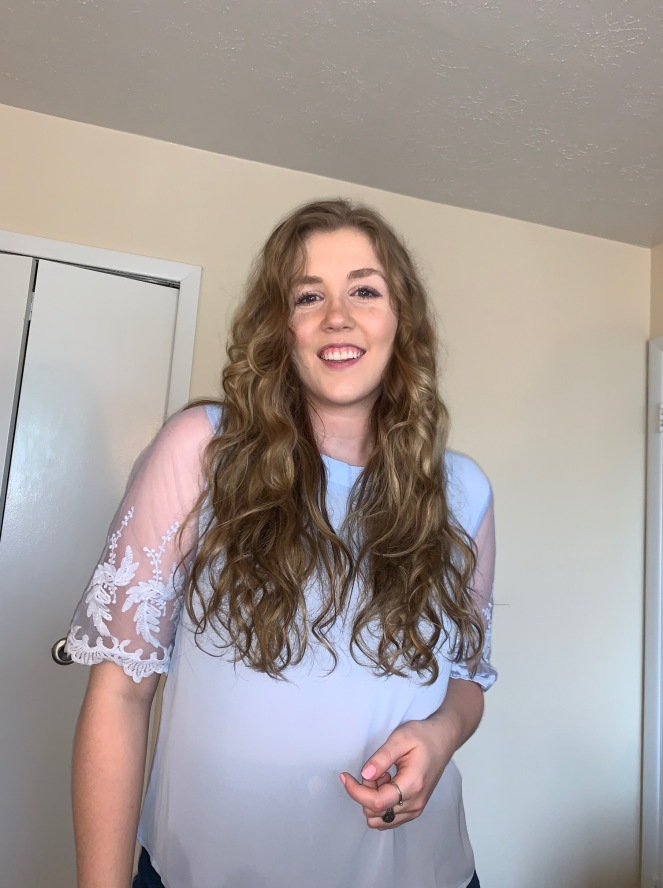
This style is unfortunately extremely see-through. Something I need to add into my wardrobe is a plain white/nude tank or bodysuit to wear underneath tops like this. I thought it would be a cute little office top that could go with jeans or tailored work pants, and although those outfit ideas are still viable, I just need to get that tank to feel comfortable wearing this one in the work place. There is a center back zip just at the nape of the neck to get this one on, and the sleeves are all mesh with a crochet lace detail at the opening. Still cute, I will make this one work, just not the best in this haul. 6/10
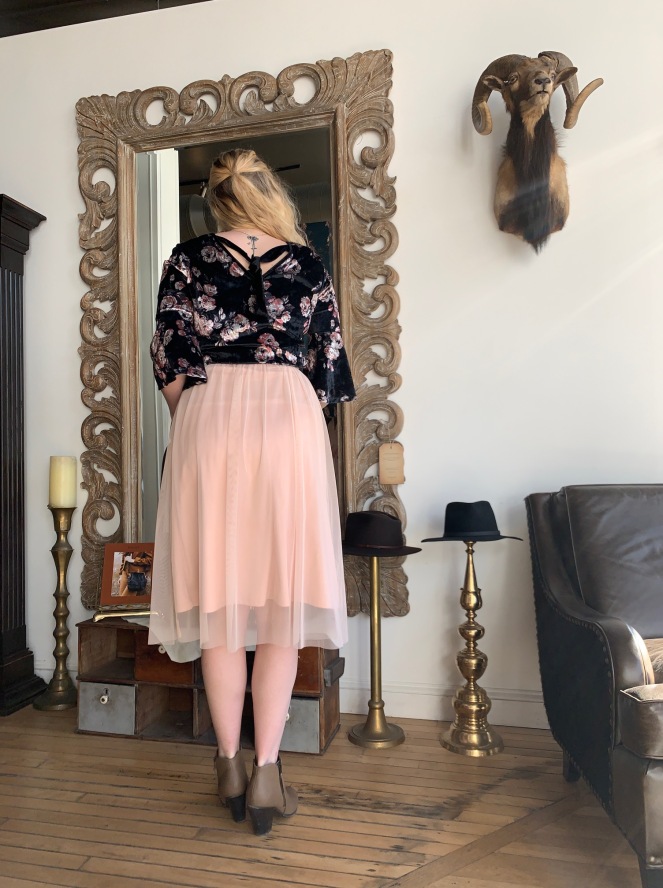
Back Wrap Top


This was the style I was most excited about in this haul, and I was not disappointed! It is the perfect cropped length for being a little heavier set in the mid-section, and pairs so great with some high-waisted denim. It’s super girly and frilly, which typically isn’t my style, but I love how this one looks and fits. The back detail of the wrap tie is also so fun, and I think I can make this one work with shorts too! 10/10
Pants
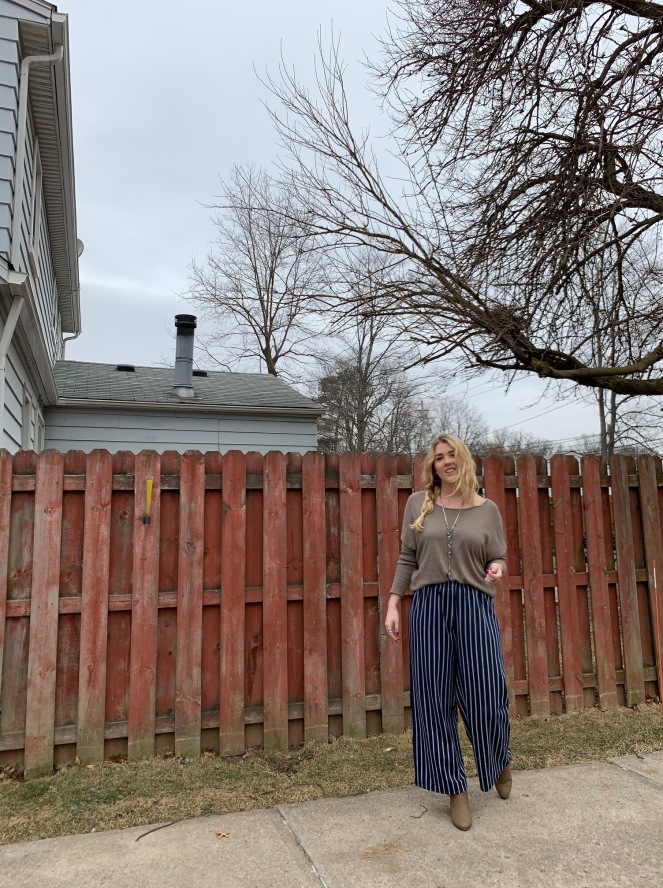
Pleated Gauchos


I love me a good pair of stretchy pants that look nice as well as trendy. I’ve been into pink more than ever lately, and figured these would be great to add into the wardrobe as a good transitional piece for both spring and fall. I realized while taking photos that I matched my pillow, so of course I had to document that. But anyway, these guys fit great, are super flowy, and can be easily paired with a basic tee or dressed up for a night out! Only downside is that the elastic is not sewn into the waistband, so it does flop around a bit and will need adjusting with each wear. 8/10
So that’s the haul! There’s a lot of talk out there in the online world of SHEIN not having quality garments, and being shipped things that aren’t the same. However, each experience I’ve have with this site has been positive. You get what you pay for, this is definitely deal shopping so keep that in mind, but everything I’ve received matches what I saw online.
Anyway, hoping to have more posts coming your way here soon. As things open back up and the weather gets nicer, I’m bound to find a couple more things to write about (: Thanks for tuning in, see you next time!